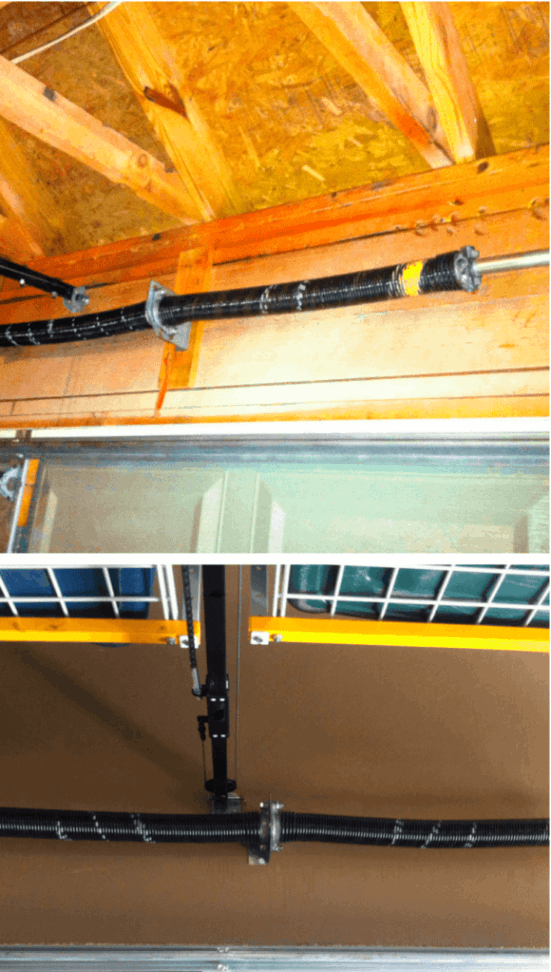
Repairing garage door springs and cables is advanced work, and in some cases you’ll need a professional to take care of the job. We have outlined some easy-to-follow instructions on repairing garage door springs and cables.

Houston Garage Door Repair Springs & Cables
What Tools will I need to repair my garage door springs and cables?
Before you get started, review this list of helpful tools and materials you will need to repair your garage door’s springs and cables:
- Hammer
- Clamps
- Protective gear, such as safety goggles and leather gloves
- Hammer
- Wrench set with an adjustable wrench
- Drill
- Locking pliers
- Winding bars
- Ratchet and socket set
- Lift cables
- Torsion springs
- Bottom brackets
The steps in how to repair a garage door are the following:
- Lock the garage door & loosen the unbroken springs
- Unwind and disconnect the springs from center bracket
- Secure torsion tube and remove old springs
- Install new center bearing and left spring
- Replace rollers, lift cables, and bottom brackets
- Thread wires and tighten drums
We’ll go over each of these.
Step #1: Lock the Garage Door & Loosen the Unbroken Springs
You’ll first start by clamping the garage door using the locking pliers and clamps. This is to help prevent any accident that might occur due to an unlocked garage door.
Then, using your winding bar, you’ll loosen the good spring. Place it into the winding cone and start loosening the setscrews. Be careful, since the spring can rotate aggressively when loosening it.
Step #2: Unwind and Disconnect the Springs from Center Bracket
Using a second winding bar, place it into the next hole, making almost a 90-degree angle between the winding bars. After that, remove the first winding bar and turn the spring. Do this in passing over motion.
Remove the bolts and nuts that are in the stationary cones. After that, try to slide the springs to the brackets that are in the end.
Step #3: Secure Torsion Tube and Remove Old Springs
Use your locking pliers to loosen the setscrews that are on the right and left light cable drums. Then, disconnect the cables.
When you finish disconnecting the cables, start on the left side of the door by sliding the torsion tube to the right. That way, you can remove the cable drum. Lastly, you can push the broken spring off the tube.
Step #4: Install New Center Bearing and Left Spring
First, you’ll need to reassemble by sliding the replacement of the torsion spring onto the tube. Keep in mind that during this step, you’ll need to have the stationary cone facing the center bracket. After that, you’ll be able to install the cable drum again and reinsert the torsion bar.
Second, you’ll need to connect the stationary cones onto the bracket by sliding the center bearing onto the torsion bar.
Step #5: Replace Rollers, Lift Cables, and Bottom Brackets
This is the perfect time to change any rusted rollers, cables, and bottom brackets. You can do this by first placing the lift cable loop onto the new bottom bracket.
Step #6: Thread Cables and Tighten Drums
You’ll need to secure the lift cable onto the cable slot. Also, remember to tighten the drums by using the pliers. After that, it’s time to wind the wire, tightening as much as possible before placing the setscrews.
Finally, you’ll want to make sure that both sides of the garage door are tightened equally. That way, your door will open adequately and evenly.
In most cases you will be able to apply these easy to follow instructions and repair your springs and cables, however if the task proves to be more than you would like to take on, call our professionals at Garage Service Pros and schedule and appointment.

